
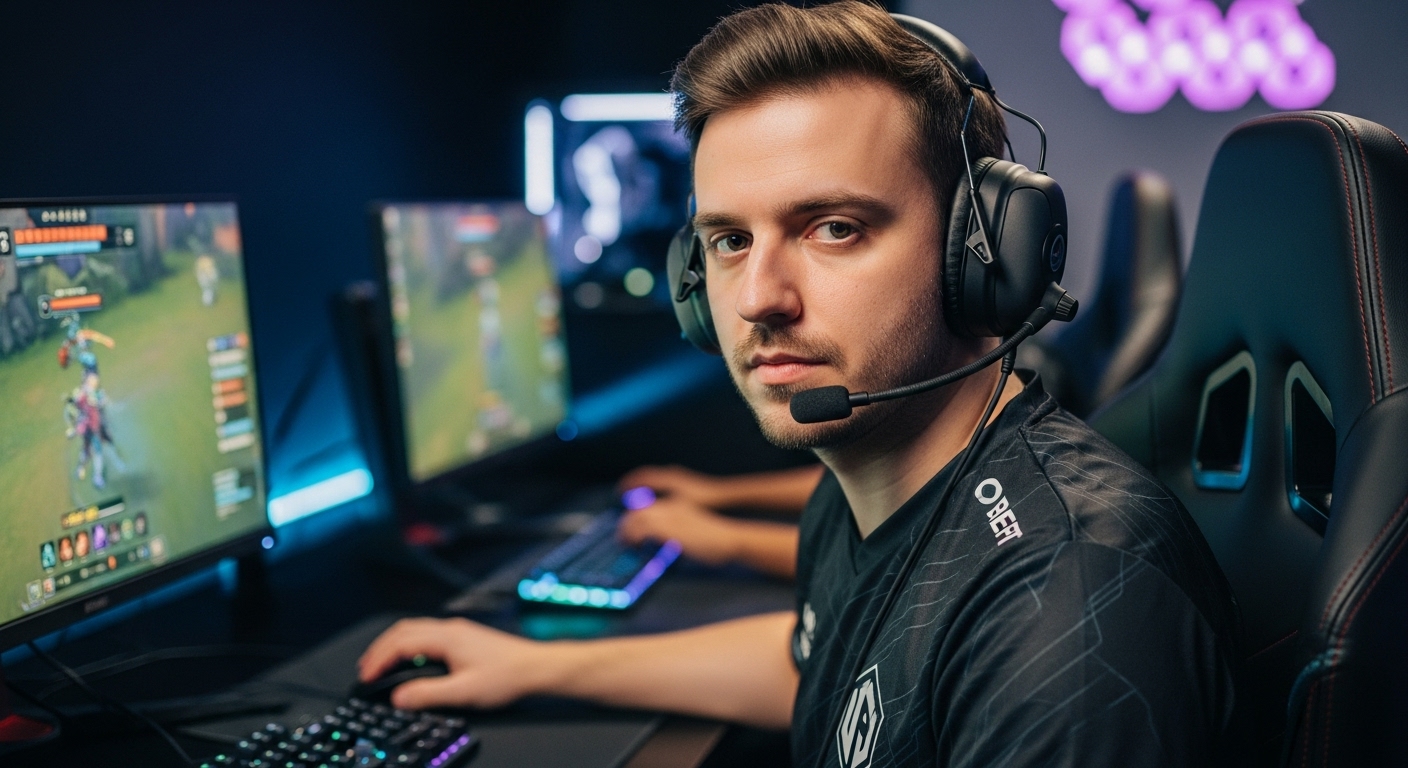
People ask me all the time what the “streaming setup used by pro players” looks like. And I get it. You see a crisp face cam, buttery 240 fps aim, clean audio with zero hiss, and you think, alright, what dark magic is this. In my experience, it’s not magic. It’s a pile of small, boring choices done right. A good gaming PC, a capture card that doesn’t freak out, a real XLR microphone, steady lighting, a wired Ethernet line, and software like OBS that’s set up on purpose. Sprinkle in some LSI buzzwords you hear tossed around—bitrate, NVENC, dual-PC setup, refresh rate, noise gate, stream deck, color temperature—and you’re close. Not perfect. But close enough that chat stops asking “why is your mic peaking?” every ten minutes.
What Pros Actually Care About (Not the Shiny Stuff)
I’ve worked on this stuff for more than a decade. The biggest myth: pros care most about the “cool” gadget. RGB, titanium arms, a camera that costs as much as a used car. Funny. The truth: they care about low latency, stability, and clean signal flow. If something adds delay or crashes mid-final, it’s gone. No mercy. I’ve seen thousand-dollar mixers get unplugged mid-stream because the on-switch sits where your elbow lives. Nice design, geniuses.
The Pyramid of “Does It Matter?”
Here’s how I rank priorities when I help someone clean up their stream. You can steal this. Please do.
- Network: stable upload first, then bitrate.
- Audio: clear voice beats any webcam upgrade.
- Frame pacing: smooth > raw FPS flexing.
- Lighting: face > background LEDs.
- Camera: lenses after lights, every time.
- Extras: stream deck, fancy overlays, reactive lights. Later.
Latency Buckets I Watch Like a Hawk
- Input: mouse, keyboard, controller, monitor response.
- Encode: NVENC vs x264, B-frames, lookahead.
- Network: bufferbloat, jitter, packet loss.
- Human: are you tired, hungry, tilted? Yes, it counts.
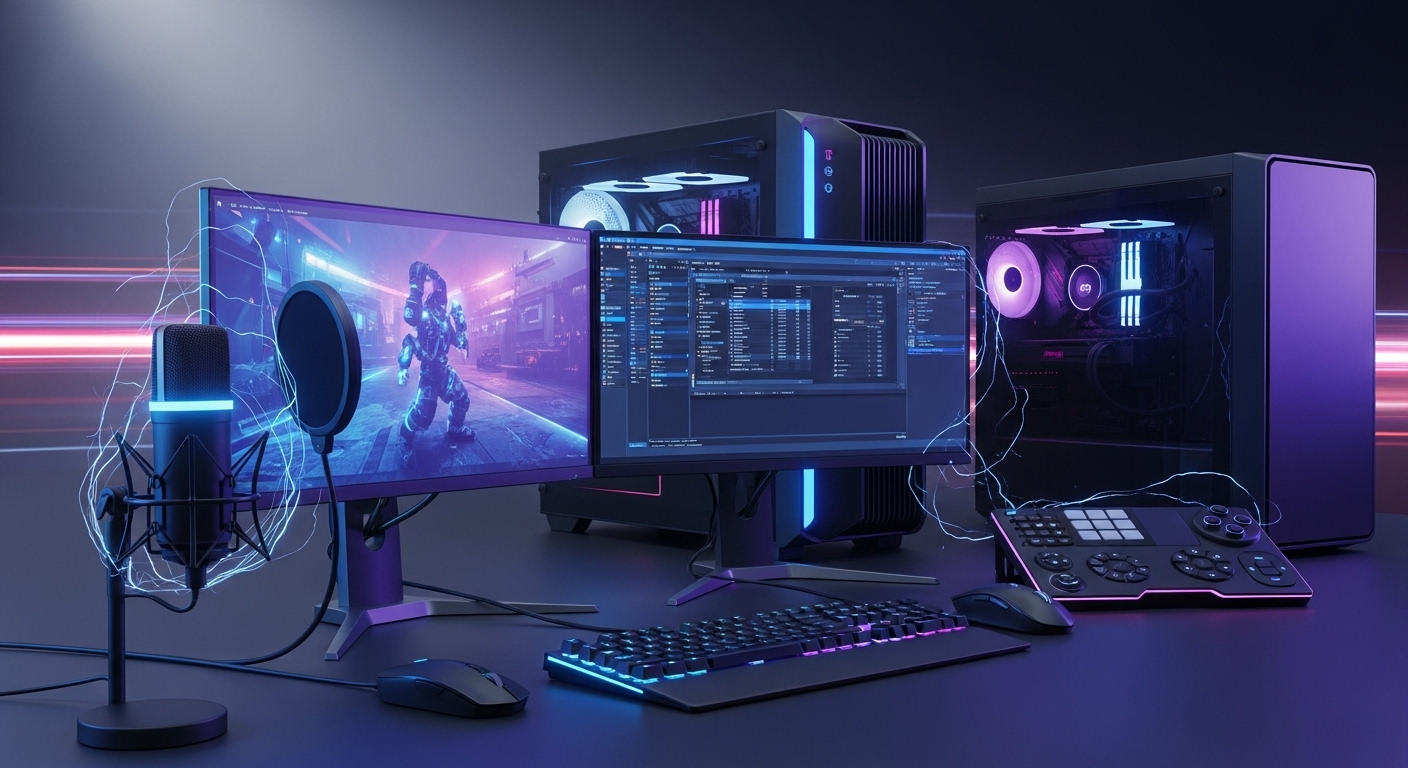
The Core Pieces in a Pro Streamer’s Rig
I don’t like mystery. Here’s the stuff I see on desks that actually wins games and keeps streams alive.
PC: Single vs Dual
I’ve run both. Single PC is fine for most people. If your GPU has modern NVENC (RTX 20-series and up), you can stream 1080p60 while gaming pretty cleanly. Dual-PC setups shine when you’re pushing 240 Hz in sweaty shooters and still want a pristine encode. But they add cables, sync issues, more places for Windows to have Opinions.
- CPU: 6–8 strong cores minimum for single-PC streaming; 12+ if you insist on x264.
- GPU: NVIDIA with NVENC is the easy button. AMD has made progress, but NVENC is still the streamer meta.
- RAM: 32 GB is the new 16. Chrome exists. So does Discord and ten overlays.
- Storage: NVMe SSD for OS and games. Separate SSD for recordings if you save VODs.
Capture Card
For dual PC, I like internal PCIe capture with pass-through. HDMI 2.0 for 1440p120 or 4K60 passthrough. If you run a console, same deal. Avoid daisy-chaining through three adapters like you’re building a spaceship. Fewer points of failure. Trust me.
Monitors and Refresh Rate
Pros sit on 240 Hz or 360 Hz panels with low input lag. Even if the stream ends up at 60 fps, the player experience stays snappy. Some also keep a color-accurate 144 Hz side panel for editing. And yes, a portrait chat monitor if you enjoy neck pain.
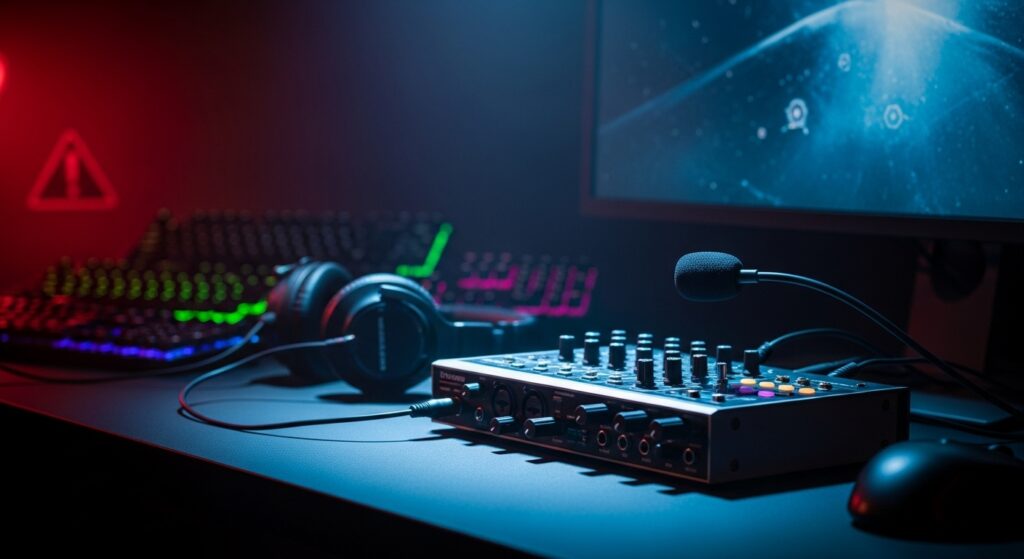
Audio Chain: Where Streams Live or Die
I’ve always found that audio is the thing that makes viewers stay. Most pros run a dynamic XLR mic. Think Shure SM7B, Electro-Voice RE20, or the so-hot-right-now RE20 lookalikes. Why dynamic? Less room noise. That fan at your feet? It’s loud. Dynamic mics ignore it better.
- Mic arm: get one that doesn’t sag mid-show. Bonus if it doesn’t squeak like a hamster wheel.
- Audio interface or mixer: GoXLR, Wave XLR, RODECaster, or a simple Focusrite/SSL. Pick your poison.
- Filters: noise gate, compressor, limiter, de-esser. Gentle settings. We’re not mastering an album.
- Monitoring: closed-back headphones, low latency. You’ll hear clipping before chat does.
Camera: Nice, But Lighting Wins First
I love cameras. But lighting does more. If you’re on a webcam, fix lights first. If you upgrade, many pros go mirrorless with clean HDMI—Sony a6400/a7C, Panasonic G7/GH5, Canon M6 II. Get a 24–35mm lens with a low f-stop. Use a dummy battery. Don’t trust a tiny battery in a 6-hour stream unless chaos is your brand.
Lighting: Big, Soft, and Not in Your Eyes
Two lights minimum. A soft key at 45 degrees, and a fill or a light on the wall behind you. 5000K-ish color temp. Match the room. If you want that blur in the background, move yourself away from the wall and lower your aperture. Or just fake it with a background light and a shelf of old game boxes. Same vibe.
Network: Wired. Please. I’m Begging.
Wi‑Fi drops frames when your neighbor microwaves a burrito. Use Ethernet. Aim for at least 10–15 Mbps upload for 1080p. Set QoS on your router so your upload doesn’t die when someone starts a cloud backup. Test bufferbloat. It’s real and annoying.
Software: OBS, Scenes, and Not Crashing
Most pros stream with OBS Studio. It’s free, it’s stable, and it’s fully customizable. Scenes for gameplay, face cam, BRB, and a clean desktop. Hotkeys mapped to a stream deck. VST filters on the mic. Replay buffer for clutch highlights. Keep plugins lean. If an update breaks everything, that’s on you for living on 12 plugins like it’s a modded Skyrim install.
And if you want the history rabbit hole, the live streaming scene has evolved fast. The gear got better. The mistakes stayed the same.
Budget Tiers That Actually Make Sense
Here’s a no-nonsense set of builds I’ve used or set up for friends. Not flashy. They work.
| Tier | Main PC | Audio | Camera/Lights | Notes |
|---|---|---|---|---|
| Starter | Mid GPU with NVENC, 6-core CPU, 16–32 GB RAM | USB dynamic mic (or XLR via simple interface) | 1080p webcam, single softbox | Single PC, 720p60/1080p30 stream |
| Serious | RTX 3070/4070+, 8–12 core CPU, 32 GB RAM | XLR dynamic mic + GoXLR/Wave XLR | Mirrorless camera + capture card, two lights | 1080p60 with NVENC, clean audio chain |
| Pro | Dual PC: Game (high-end GPU/CPU) + Stream (NVENC or x264) | Broadcast mic + interface/mixer, in-ear monitors | Mirrorless with fast lens, three-point lights | High refresh gaming + pristine encode, redundancy |
My Dual-PC Era: The Good, The Bad, The “Why Is There No Sound?”
I ran dual PCs for two full seasons. I loved the freedom. My game PC stayed at 240 Hz in Valorant and Apex. The stream PC did the heavy lifting. I also hated the extra gremlins. Once, my capture card decided it was a toaster. No signal. Ten minutes before a sponsored show. Chat thought I was doing a “face radio” bit. Not my best night.
If you go dual, learn sync. Send camera audio and mic into the stream PC. Or send everything into the mixer and route it cleanly. Use markers and claps to check delay. Don’t trust your eyes. Trust a test recording. And keep a plan B—like a simple USB mic you can switch to in 5 seconds.
Settings That Actually Matter (And Why)
Pro players don’t memorize numbers for fun. They memorize the ones that keep things smooth. Here are the ones I set first.
Resolution and Framerate
- 1080p60: sweet spot for Twitch. Clean, sharp, not a bandwidth hog.
- 900p60: weird size, but helps if your upload is shaky.
- 1440p60 or 4K30: better for YouTube if your PC can handle it.
Bitrate and Encoder
- Bitrate: 6000 Kbps for Twitch is standard. YouTube lets you go higher. TikTok is all over the place.
- Encoder: NVENC (new) looks great. x264 Medium can look a hair better but hits your CPU hard.
- B-frames: 2 for Twitch, 3–4 for YouTube VOD quality. Lookahead off unless your GPU can handle it.
Audio
- Sample rate: 48 kHz. Keeps things in sync with video.
- Mic chain: gentle noise gate, 3:1 compression ratio, limiter at -1 dB.
- Game vs voice balance: voice should sit above game SFX by a few dB. If chat can’t hear calls, what are we even doing.
OBS Scene Logic
- Keep a “Safe Mode” scene with minimal sources. If something crashes, swap to it.
- Use scene nesting to avoid duplicate filters and CPU load.
- Replay buffer: keep 60–120 seconds for instant highlights.
| Platform | Resolution/FPS | Bitrate | Encoder Tips | Notes |
|---|---|---|---|---|
| Twitch | 1080p60 | 6000 Kbps | NVENC, B-frames 2, no lookahead | CBR, keyframe 2s |
| YouTube | 1440p60 or 1080p60 | 9000–13500 Kbps | NVENC or x264 Medium | High quality VODs favored |
| TikTok | 720p60 or 1080p30 | 2500–6000 Kbps | NVENC low-latency preset | Vertical scenes help |
Stuff Pros Buy That You Probably Don’t Need (Yet)
- In-ear monitors with a wireless belt pack. Cool. Also pricey. Start with wired.
- Dedicated hardware encoder. Rarely necessary unless you run a full broadcast.
- Motorized standing desk with RGB underglow. Your back will love the desk, not the LEDs.
- Eight-camera angles. Chat does not need a foot-cam. Please stop.
Little Problems That Make Grown Streamers Cry
- Ground loop hum: use balanced cables or a ground loop isolator for line-level feeds.
- USB hub chaos: put camera and capture on the motherboard ports. Hubs for less picky stuff.
- Windows updates: set active hours. Make images of stable setups. Restore if fire happens.
- Coil whine on GPUs: sometimes you can reduce it with frame caps. Sometimes it just sings.
- Soft light melting: LEDs run cool, but cheap fixtures get hot. Watch the gels.
Gear I Use Right Now (And Why)
What I think is simple: pick stuff that stays out of the way. Here’s my current stack. It changes, but not every week like those “haul” videos.
- Game PC: 8-core CPU, RTX 4070, 32 GB RAM. NVME for OS/games.
- Stream PC: modest GPU with NVENC, 6-core CPU, PCIe capture card.
- Mic: Shure SM7B with a clean preamp. Why? Low noise. Consistent tone.
- Mixer: GoXLR. Fast routing. I can mute Discord without alt-tabbing into a lobby.
- Camera: Mirrorless APS-C with a 24mm lens. Clean HDMI out. Dummy battery.
- Lights: Two soft panels at 5000K, one backlight for depth.
- Network: Wired. QoS tuned. Router firmware not from 2012.
Overlays, Alerts, and Not Making Your Stream a Carnival
Pro players usually keep overlays minimal. Scoreboard, camera frame, a sponsor corner. Alerts tuned to be short. Loud, long alerts in a clutch round? That’s content, sure, but it will also tilt you into the sun. Keep it clean. Use a stream deck for scene swaps. Map a “panic” button that mutes everything but your mic.
Practice, Schedule, and Actually Showing Up
Here’s the unsexy side: pro streams look pro because they’re consistent. Same scenes, same audio levels, same show flow. You can tinker forever, but actually going live teaches you faster. If you follow esports, keep a schedule. I use this esports calendar playbook so I don’t miss Majors, Worlds, EVO, or random show matches I want to snipe with co-streams. Helps with planning the whole week.
How Pros Keep Audio So Clean

It’s not a secret plugin. It’s mic technique. Talk across the mic, not straight into it. Keep 3–6 inches away. Use a pop filter. Set a gate that closes softly so breaths don’t sound like a wind tunnel. Compress a little so whispers and shouts don’t swing wildly. Then stop fiddling and stream. If you tweak every day, you’ll never be done.
Color, White Balance, and Why You Look Orange
Set your lights to one color temperature, then lock your camera white balance. If your background LEDs go rainbow, fine, but your face lighting should not change mid-stream. If your camera hunts for white balance by itself, you’ll shift from ghost to carrot every few minutes. Lock it. Manually.
Chat Says “Upgrade Mic,” But It’s Really Your Room
I’ve seen expensive mics in echo caves. Sounds bad. A few foam panels, a rug, a bookcase with random stuff—huge difference. If you’re in a boxy room, a dynamic mic helps, but a little treatment helps more. You don’t need a studio. Just kill the worst reflections.
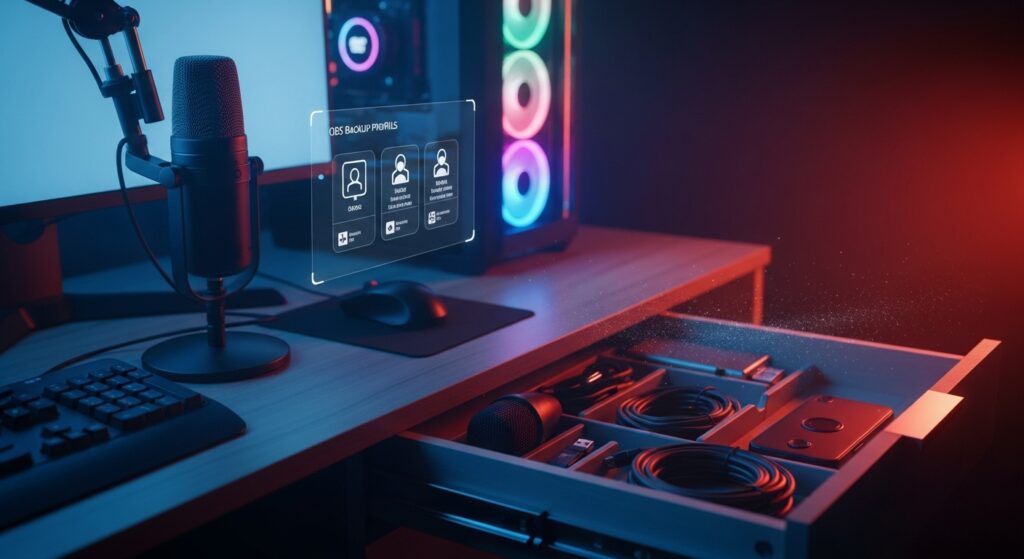
Redundancy: The Secret Sauce Pros Don’t Brag About
- Backup mic. A cheap USB one in a drawer. Saved me twice.
- Backup internet. Hotspot on standby for chat-only mode if the ISP explodes.
- Backup scenes in OBS. Export your profile and scene collection.
- Spare HDMI cable. The cable, not the camera, dies first. Every time.
The Question I Get the Most
People ask me about the streaming setup used by pro players like it’s a single, sacred list. It isn’t. It’s a system that fits the person. One player wants a dead-quiet room and in-ears. Another wants speakers at low volume and an isolation mic. One runs 1440p because YouTube loves it. Another keeps it 1080p for Twitch stability. Copy the principles, not the shopping cart.
Quick Micro-Tips From My Notebook
- Set a frame cap in-game to stabilize frame pacing. Smooth looks better than spiky fast.
- Record samples of your stream audio and compare week to week. Ears lie.
- Put your stream deck on a small wrist rest so you stop missing buttons mid-match.
- Label cables. Masking tape is fine. You will forget later.
- OBS: profile per game if you need different audio mixes. Saves headaches.
- Keep your camera at eye level. Low angles add ten years and a double chin you don’t have.
- Use push-to-mute for coughs and sneezes. Chat will thank you.
- Turn off auto exposure on your camera. No pulsing brightness during flashes.
When to Upgrade, Actually
I tell folks to upgrade only when the weak link is stopping your goals. Mic noisy even after filters? Upgrade. Camera grainy because you can’t add more light? Upgrade. Dropping frames because your CPU cries? Upgrade or switch to NVENC. Otherwise, get good with what you own. Content beats gear. Every time. And I do say that as the person with a drawer full of “emergency” microphones. Don’t be me.
About Trends: VTubing, Vertical Clips, and Mobile Co-Streams
New meta pops up every season. VTuber rigs. Vertical multi-streams. Co-streams with instant highlights. All doable on sane gear. The big thing is planning scenes and audio routes that don’t double your voice or leak Discord screams. Test in a private stream. Record five minutes. Fix. Then go live. Your future self will send me a thank-you cookie. Chocolate chip, please.
Final Thought Before I Go Make Coffee
You can buy the best parts and still have a choppy show. Or you can build a clean, modest rig and look pro. Focus on the boring basics. Lock in your audio. Get a stable line. Light your face. Then, if you still want the exact streaming setup used by pro players, fine, we can make that list together. But honestly, once you nail the fundamentals, you’ll probably realize you already look and sound like one. Which is awkward for my consulting business. But good for you.
FAQs
- Do I really need a dual-PC setup, or is single PC fine? Single PC is fine for most games if you use NVENC. Go dual if you need ultra high FPS and a clean encode at the same time.
- What mic should I get if my room is echoey? A dynamic mic (like an SM7B or a cheaper dynamic USB) and a rug/bookshelf combo. Treat the room a bit and your mic will thank you.
- Why does my stream look blurry at 1080p60? Your bitrate is too low for the motion you’re showing, or your encoder settings are too aggressive. Try higher bitrate or lower resolution/fps.
- Is Wi‑Fi really that bad? For streaming, yes. Use Ethernet. If you must use Wi‑Fi, 5 GHz near the router and pray. Also tweak QoS.
- What’s the first upgrade after a webcam? Lighting. A soft key light instantly makes even a cheap webcam look better. Then consider an XLR mic.
John | Your source for Esports, Battle Royale, Role-Playing, Retro Games, and Gaming Gear. Let’s Enjoy!
I never knew all the intricate details behind streaming setups. This article was enlightening and helpful.
Interesting breakdown of what pro streamers actually prioritize. Low latency, stability, and clean signal flow over flashy gadgets. Great insights!
Streaming equipment is key! Clean audio, low latency, and proper lighting are necessities for a pro setup. Great read!
This article is a goldmine of streaming knowledge! Definitely bookmarking for future reference.
Funky comment: Pros know it’s not about flashy gadgets, but low latency and stable signals for great streams!
Low latency, clean audio, and dual PC setups matter more than RGB gadgets. Pros prioritize function over flash.
Is a dual-PC streaming setup really necessary for aspiring streamers to achieve professional-quality content?